
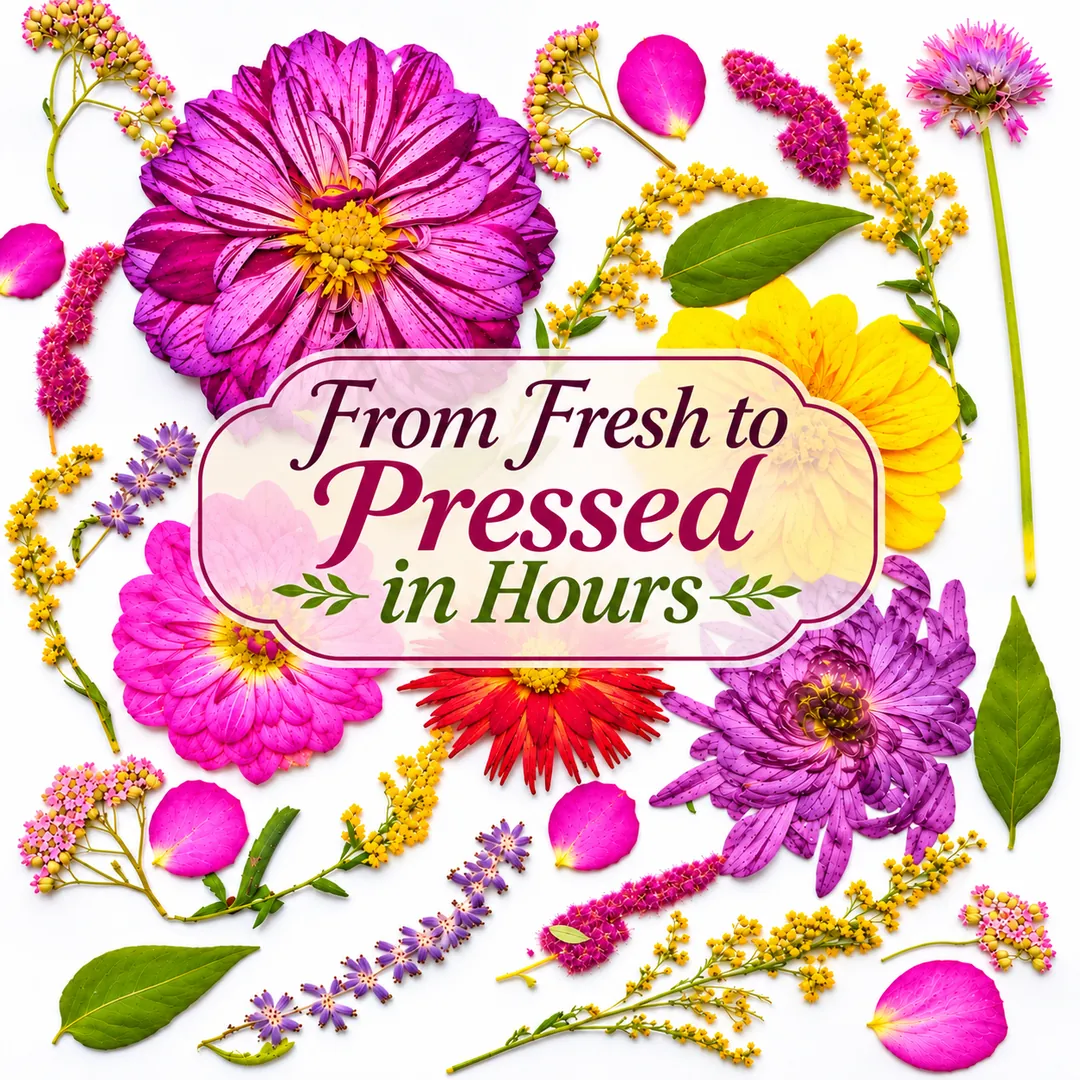
Take the next step in your flower-preserving journey!
Ready to learn how to press beautiful flowers in hours instead of weeks? This class is the next step in my Dry Flowers in Hours series!
I strongly recommend completing my Introduction to Drying Flowers in Hours class before starting this one.
In that introductory class, you'll learn my method of drying flowers using silica gel and a dehydrator. Following those instructions will bring you right to the point where this pressing class begins.
Here's where you get to make a choice!
When you reach Step Two of the drying process, you can decide whether to continue drying your flowers using my two-step method or take a different direction and press them instead!
This class focuses specifically on that second option: turning your partially dried flowers into beautiful pressed flowers.
While the introductory class isn't technically required, I highly recommend it. This class builds directly on those instructions, and without understanding the initial drying process, the pressing steps may not make much sense.
I'll be using dahlias as our example, walking you through the basics of pressing flowers once they've reached the appropriate stage in the drying process.
We won't be repeating the initial drying instructions. Instead, we'll focus on what comes next when you choose to press your flowers rather than finish drying them in their original shape.
Once The Dancing Dahlias™ membership launches, I'll be introducing additional specialty classes featuring roses, lilies, mums, sunflowers, greenery, and many other flowers.
We'll also explore creative craft projects using dried and pressed flowers. My goal is to share new classes and projects regularly, giving you lots of fun ways to use the flowers you've preserved.
Dry Flowers in Hours, Not Weeks!
Let's have some fun pressing flowers!
Traci — The Dancing Dahlias™
 Build a hub like this.Free for 14 days.